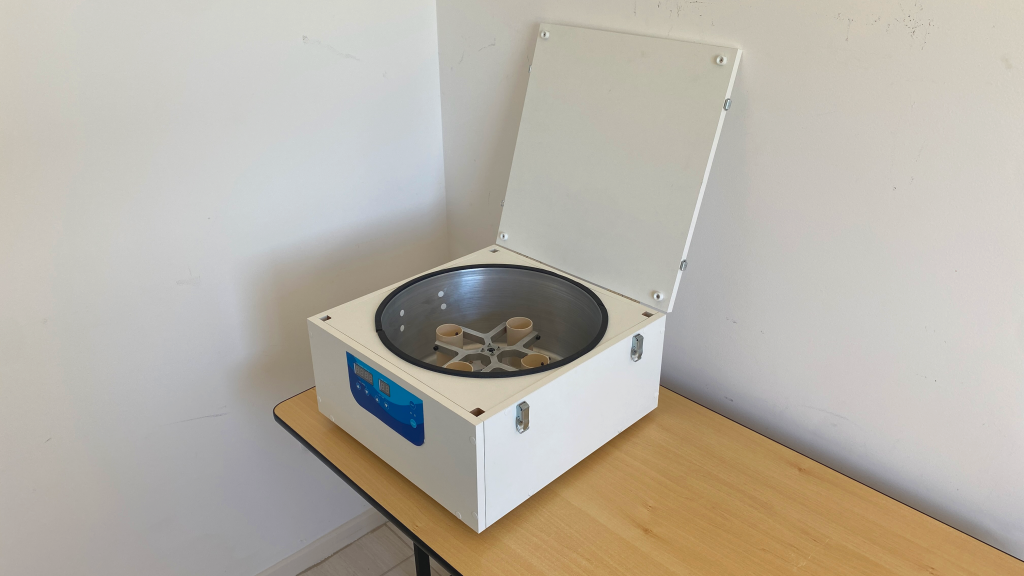
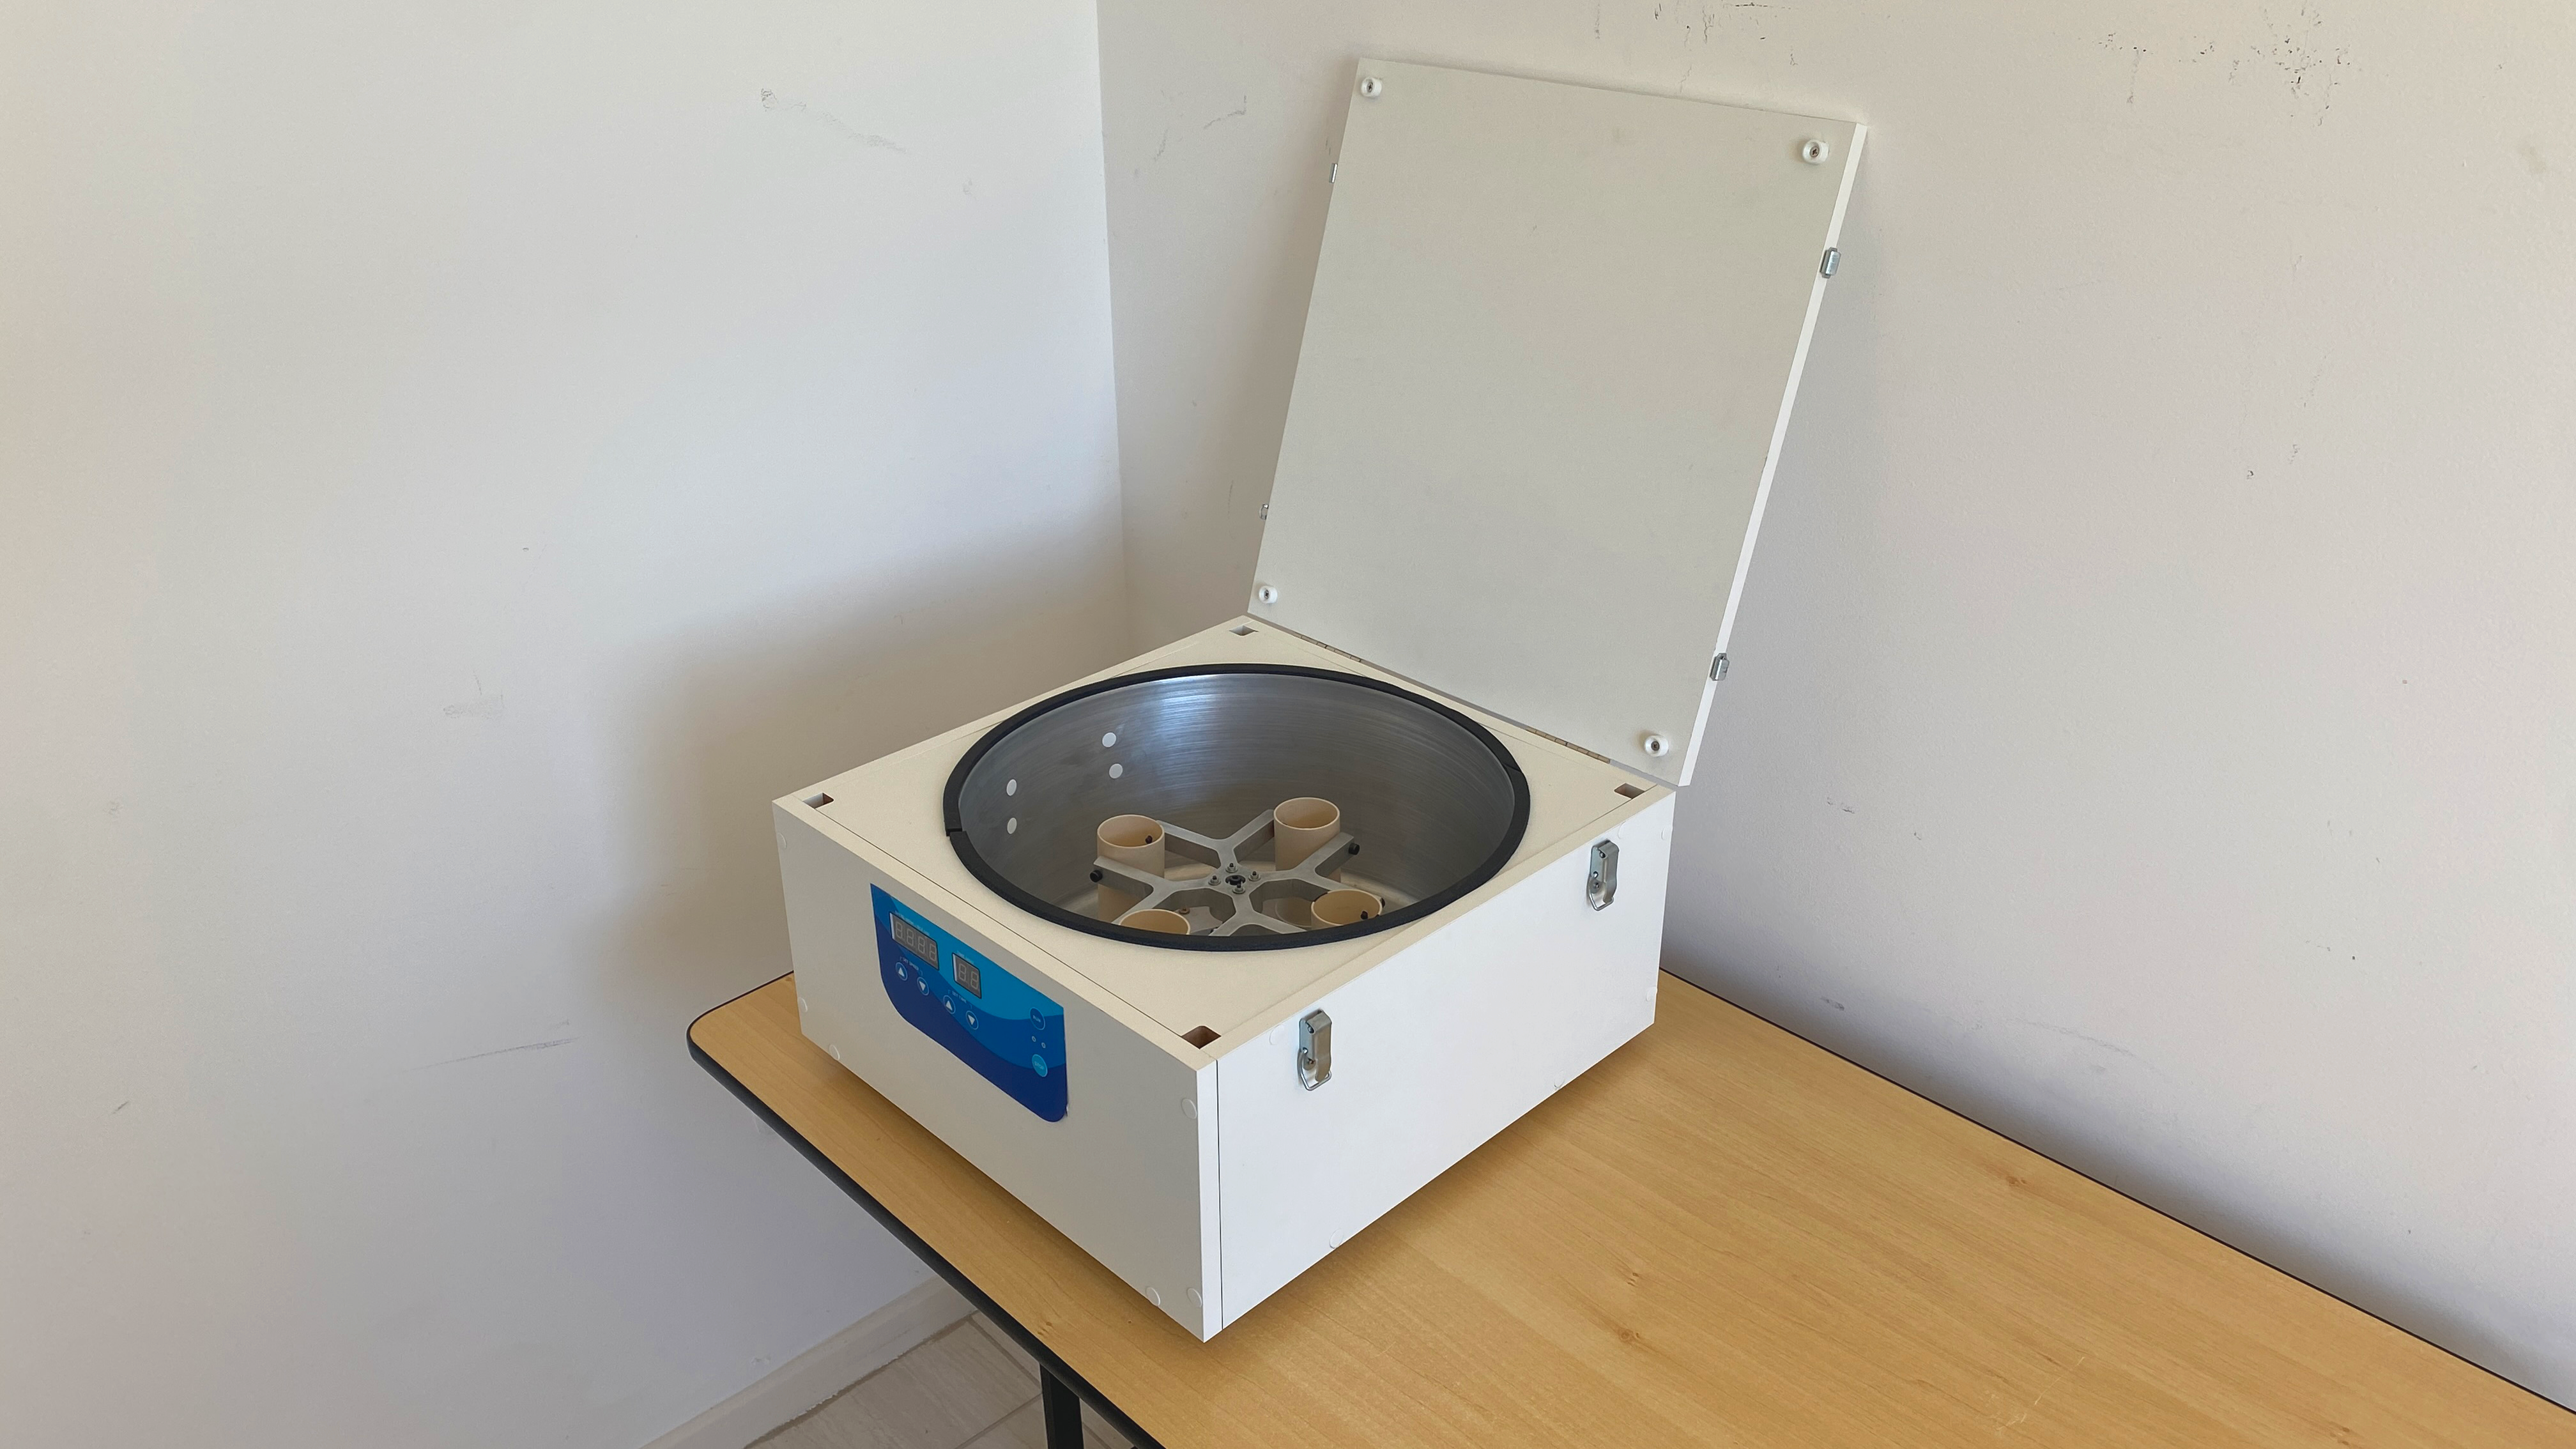
Creating a cost-effective and efficient centrifuge for platelet-rich plasma (PRP) preparation is a challenging task. Commercial options for similar variable angle centrifuges of this size often cost around $4,000. However, this homemade centrifuge achieves the same essential functionality at a fifth of the cost, coming in at just $720. This centrifuge was designed to spin large 60 mL syringes and uses a variable angle rotor, which offers superior performance compared to fixed angle designs. Additionally, it was built using readily available materials significantly reducing development time, effort, and cost.
Design
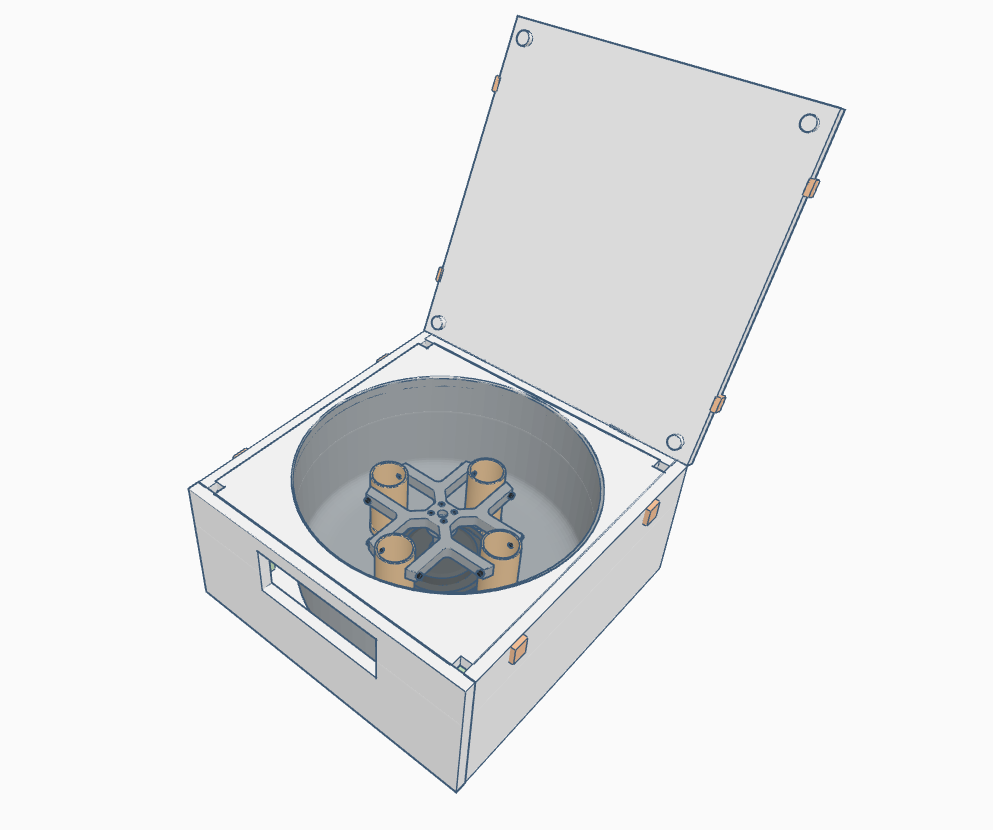
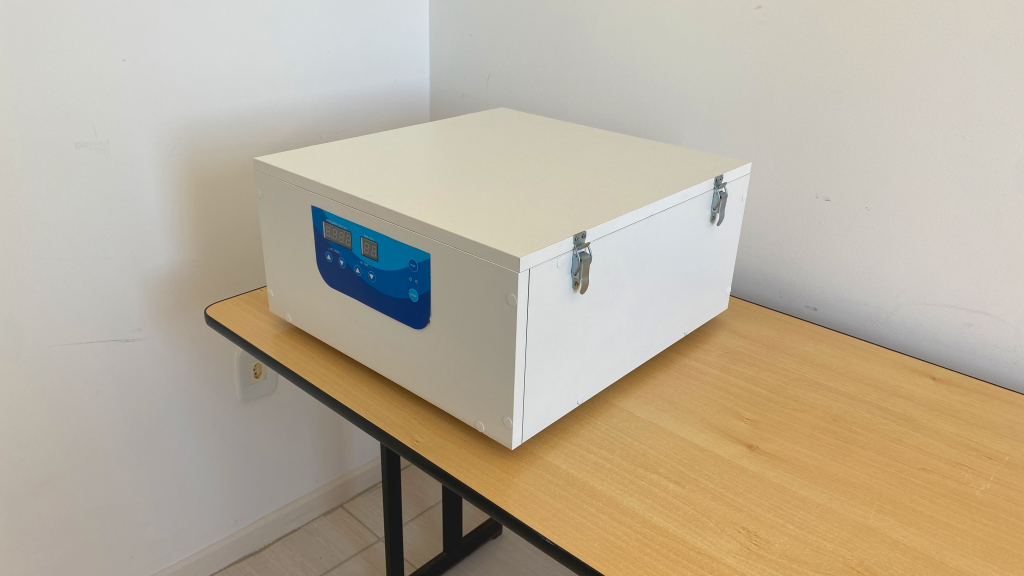
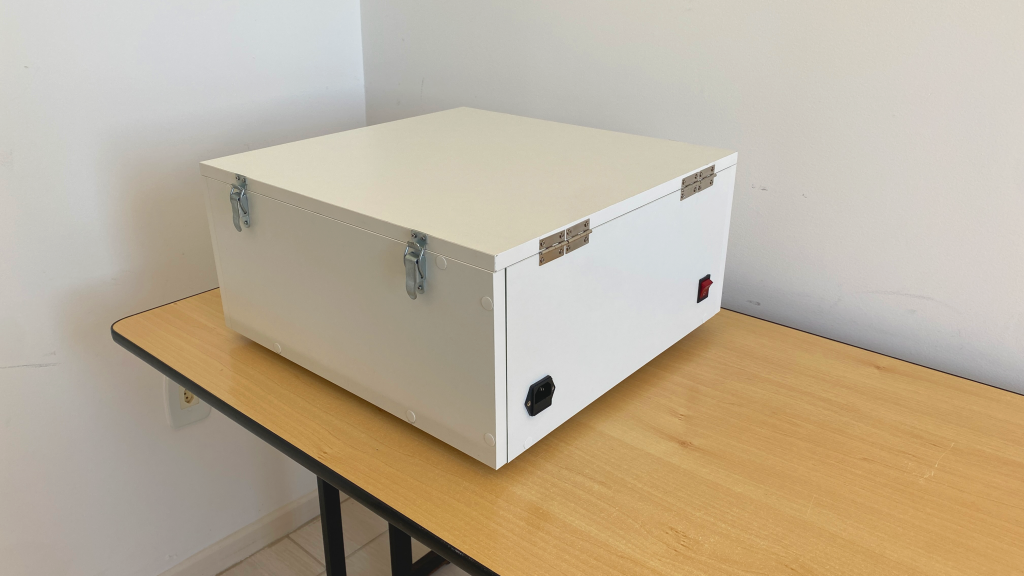
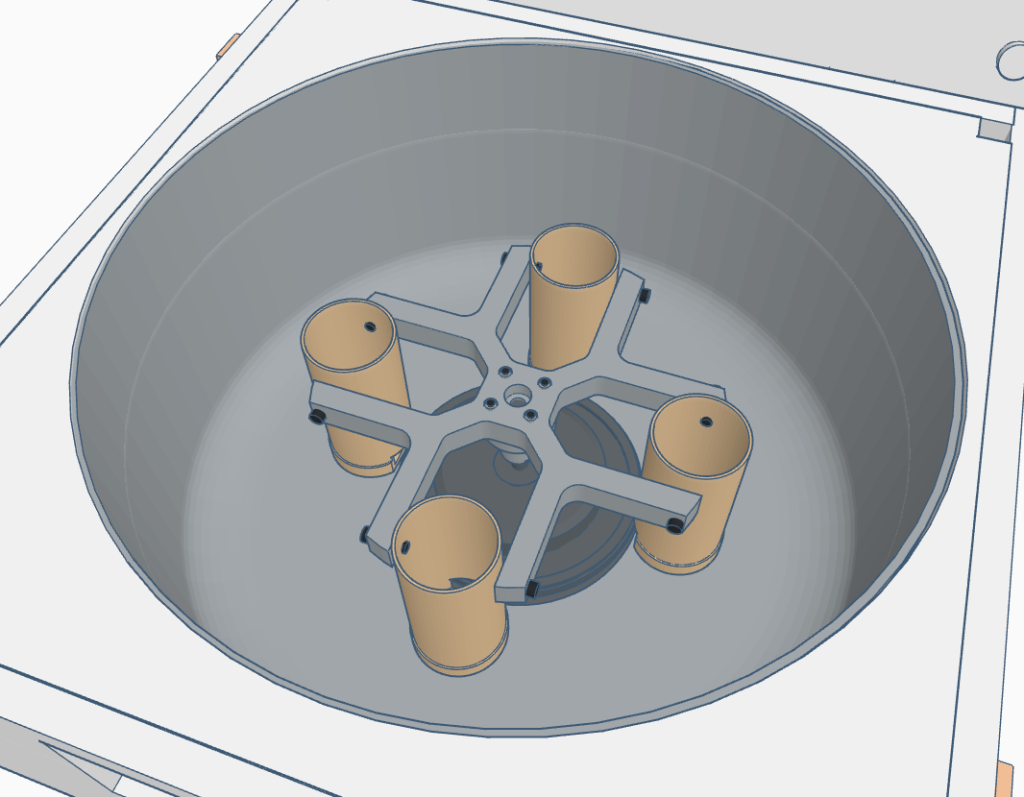
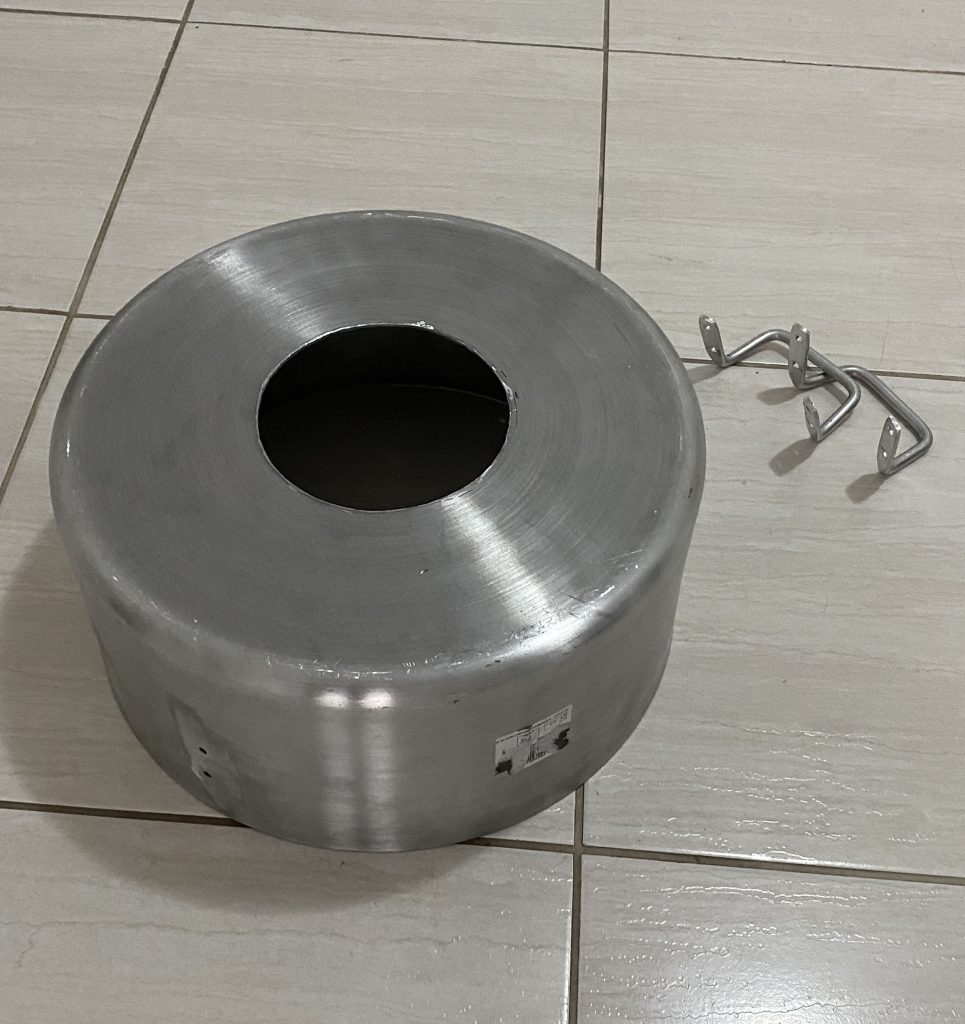
The centrifuge was meticulously designed using TinkerCAD, a free and accessible 3D design software. The CAD project is available on TinkerCAD for anyone interested in reproducing the design. Key material choices were made to simplify construction and minimize costs. The housing is made of composite 15 mm MDF, and the inner chamber utilizes a 40 cm aluminum cooking pot. These choices not only reduce the number of parts requiring machining but also ensure that the construction remains straightforward and accessible.
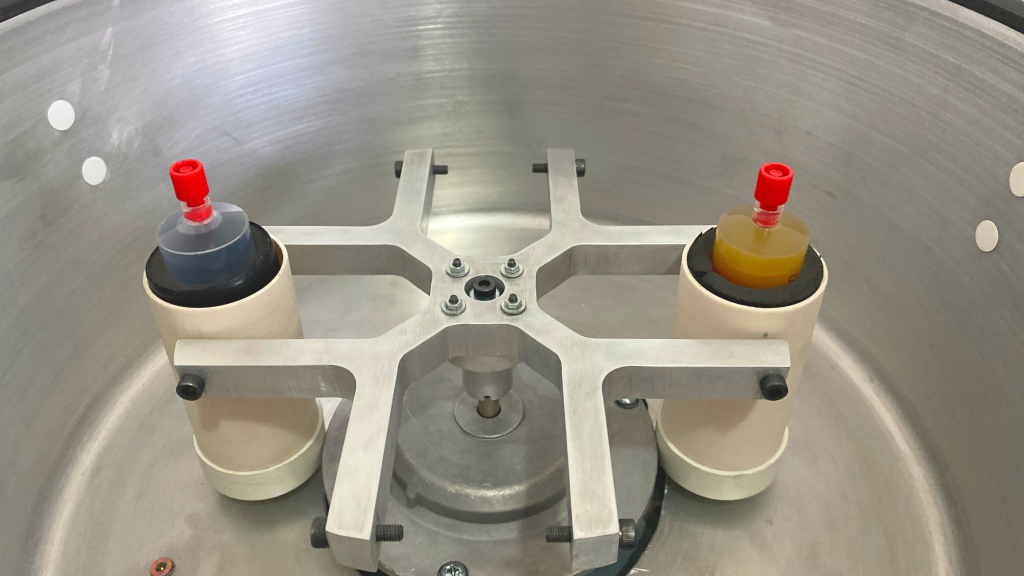
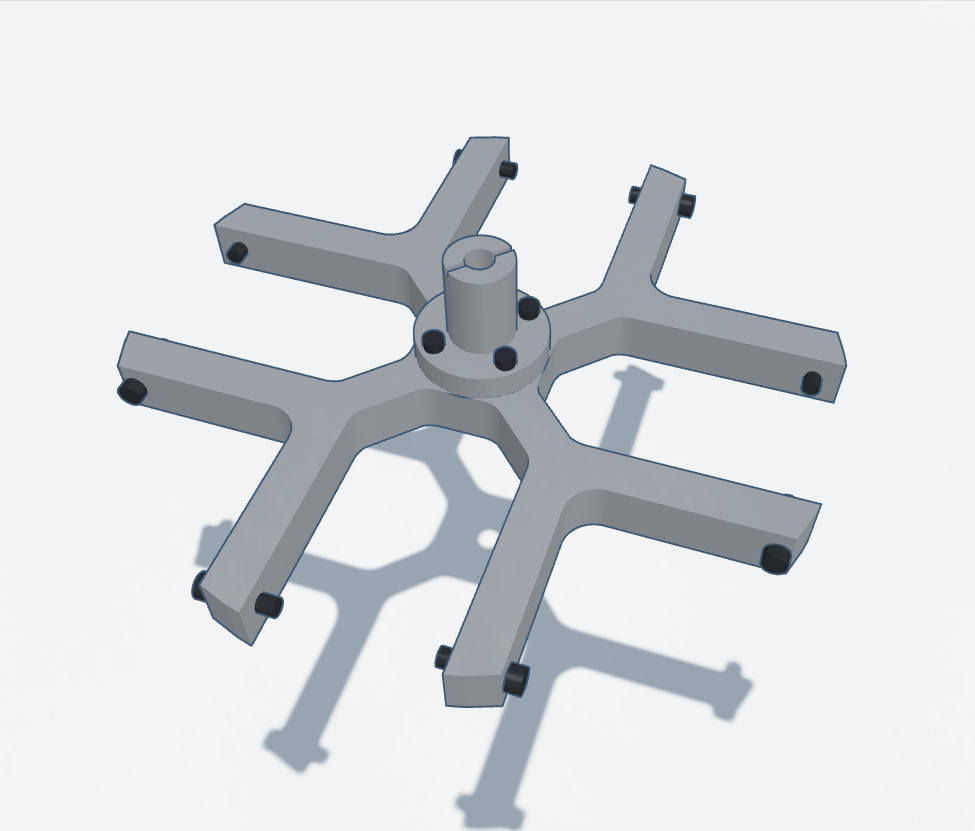
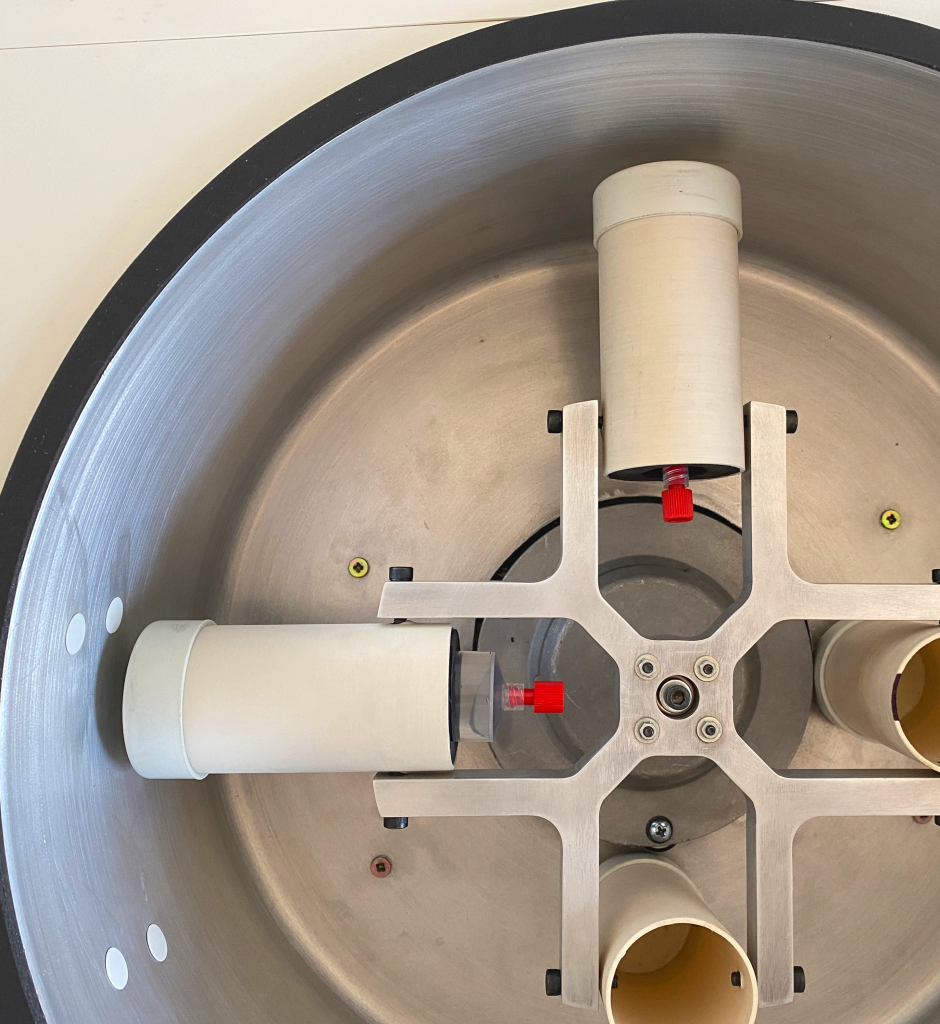
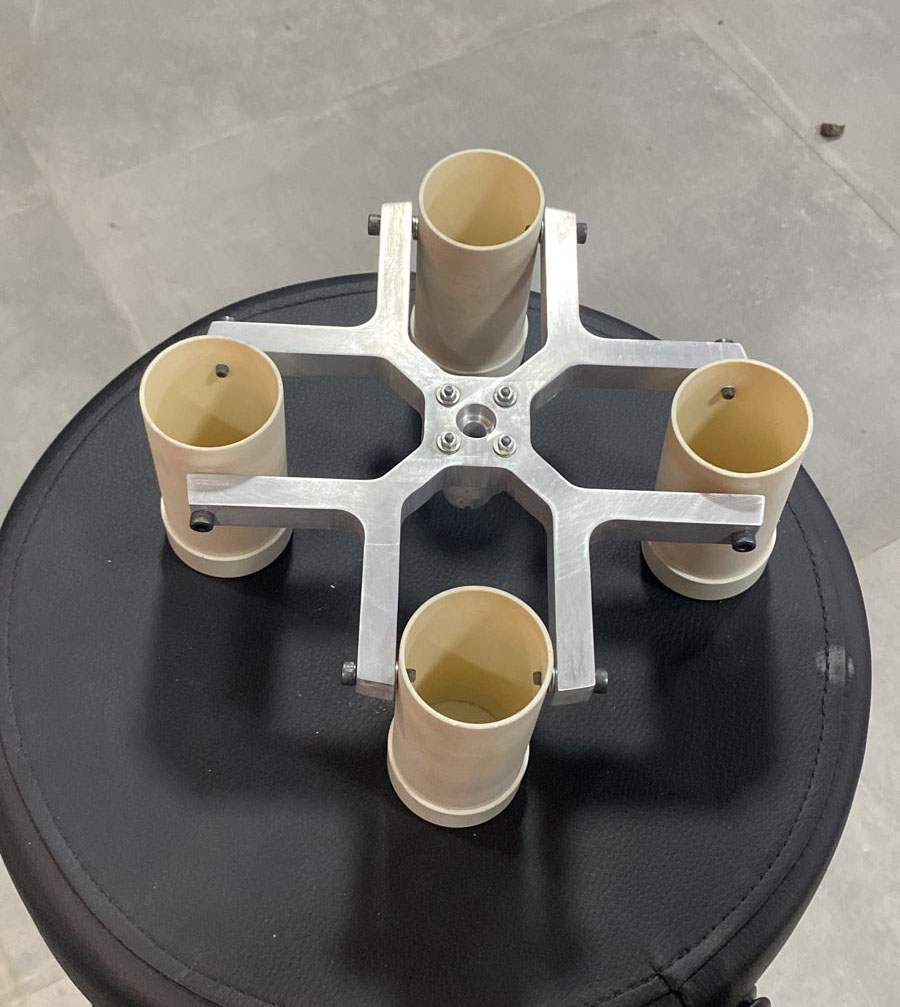
The rotor was laser-cut from a 16 mm aluminum plate and finished by hand, allowing for four separate swinging buckets. These buckets were made from 50 mm PVC tubes, providing a sturdy and reliable solution for holding the syringes.
Design Criteria
- Cost-Effectiveness: The total cost of $720 is significantly lower than commercial alternatives.
- Ease of Construction: Utilizing MDF and an aluminum cooking pot for the housing and inner chamber.
- Performance: Variable angle rotor design for superior performance.
- Scalability: Designed to hold and spin 4 x 60 mL syringes.
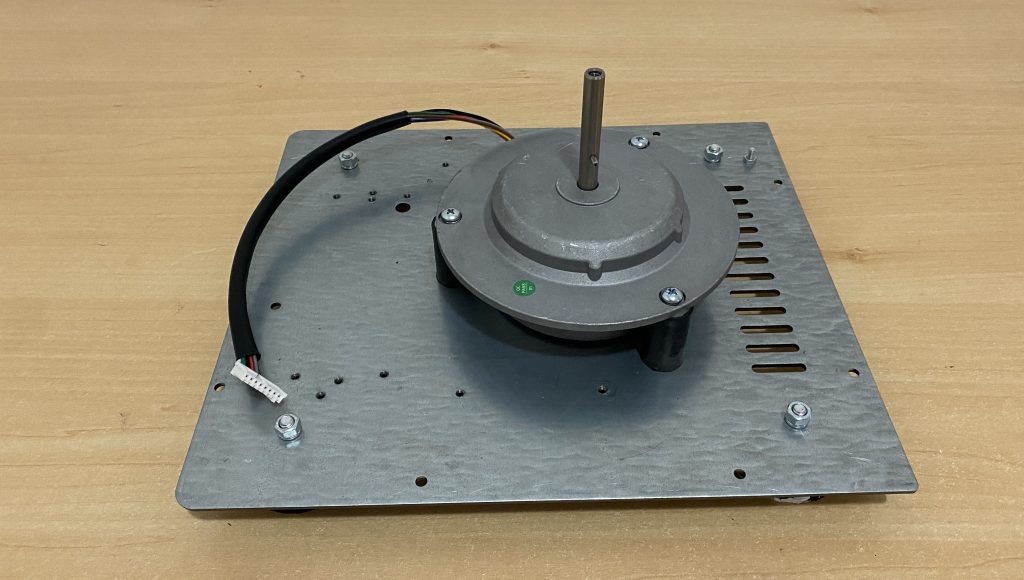
- Utilization of Existing Parts: Built off of a Kasvi K14-0815P fixed angle donor centrifuge, using the motor, base plate, motor control units, and display interface.
Materials and Costs:
- Donor Kasvi K14-0815P: $330 USD
- Rotor and Buckets: $260 USD
- MDF Housing: $60 USD
- Inner Chamber: $40 USD
- Various Hardware (latches, screws, gaskets): $30 USD
- Total: $720 USD
By following this design, you can achieve a highly functional centrifuge for PRP preparation at a fraction of the commercial cost, while ensuring reliable performance and ease of construction.
Centrifuge Demonstration Video
Variable Angle Centrifuge Specifications
| Maximum RPM | 2,600 |
| Maximum RCF | 1,100 x g |
| Maximum Payload (Per bucket) | 90 grams |
| Rmax | 155 mm |
| Velocity Precision | +/- 50 rpm |
| Maximum Capacity | 4 x 60 mL |
| Noise Level | ≤ 60 dB |
| Timer | 1 second to 99 minutes |
| Rotor Angle | Variable |
| Tension | 110V/220V |
| Frequency | 50 Hz – 60 Hz |
| Power | 60W |
| Weight | 10 kg |
| Dimensions | 47 x 47 x 23.5 cm (L x W x H) |
Operating Limits and Procedures
To ensure safe and effective operation, follow these procedures:
- Initial Spin-Up: Begin all spins at a controlled acceleration speed of 500 RPM. This gradual ramp-up allows the buckets to fully extend and stabilize, preventing excessive vibrations caused by load shifting. After a few moments the buckets will be fully extended and acceleration to target centrifuge speed can begin.
- Maximum Speed Limitations: The centrifuge can reach its maximum RPM/RCF only when using two buckets. Four buckets produce excessive drag for the motor. The system’s limitations are primarily due to turbulence and motor power rather than balance.
- Heat Management: Continuous operation at high speeds can lead to heat buildup. Avoid running the centrifuge for more than 25 to 30 minutes continuously to prevent undesirable temperature levels that could affect platelet viability.
- High-Speed Operation: Operating at maximum RCF with a full payload for more than 10 minutes can cause structural damage of the bucket’s mounting holes and the bucket’s floor, due to the tremendous weight at full spin. It is essential to monitor and limit high-speed runs to prevent such damage.
By adhering to these procedures, you can maintain the integrity of your centrifuge and ensure safe, efficient operations.
Syringe Payload
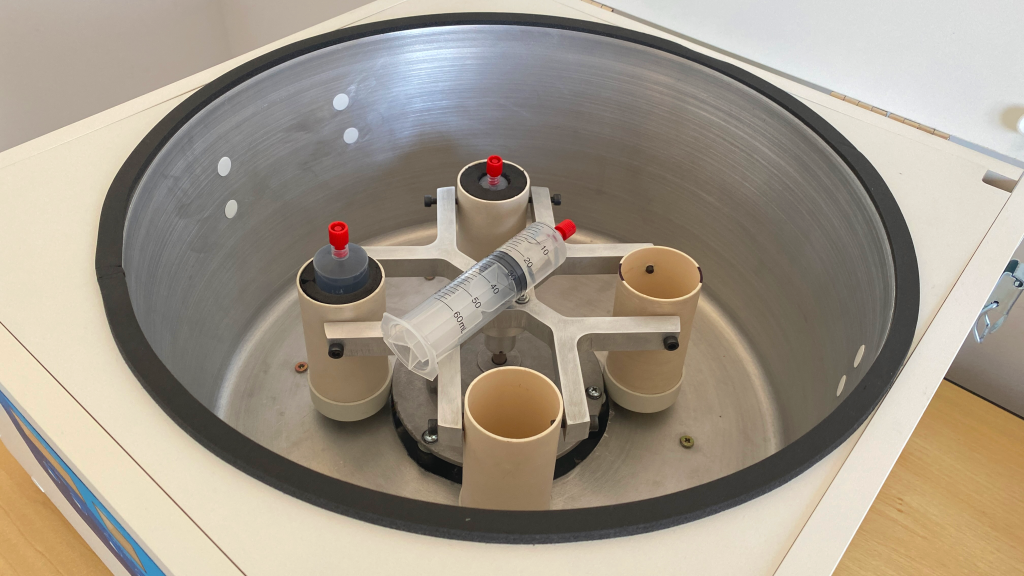
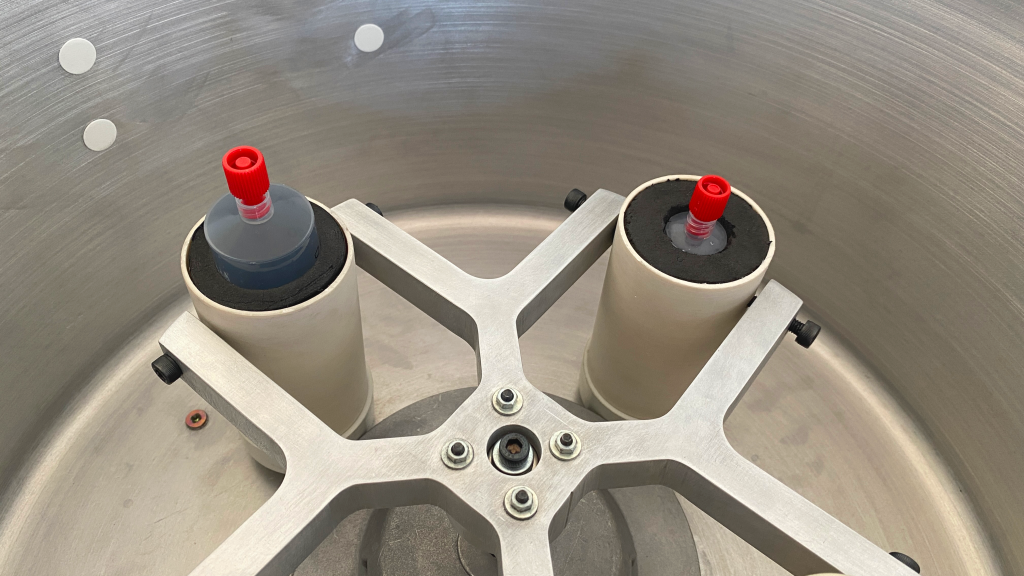
Securing the syringes within the center of each bucket is accomplished by cutting some inserts from foam, two per syringe. The first secures the base of the syringe in the bottom of the bucket and the second secures the top of the syringe at the top of the bucket. The buckets are able to fit up to 60 mL syringes.
Syringe Modifications
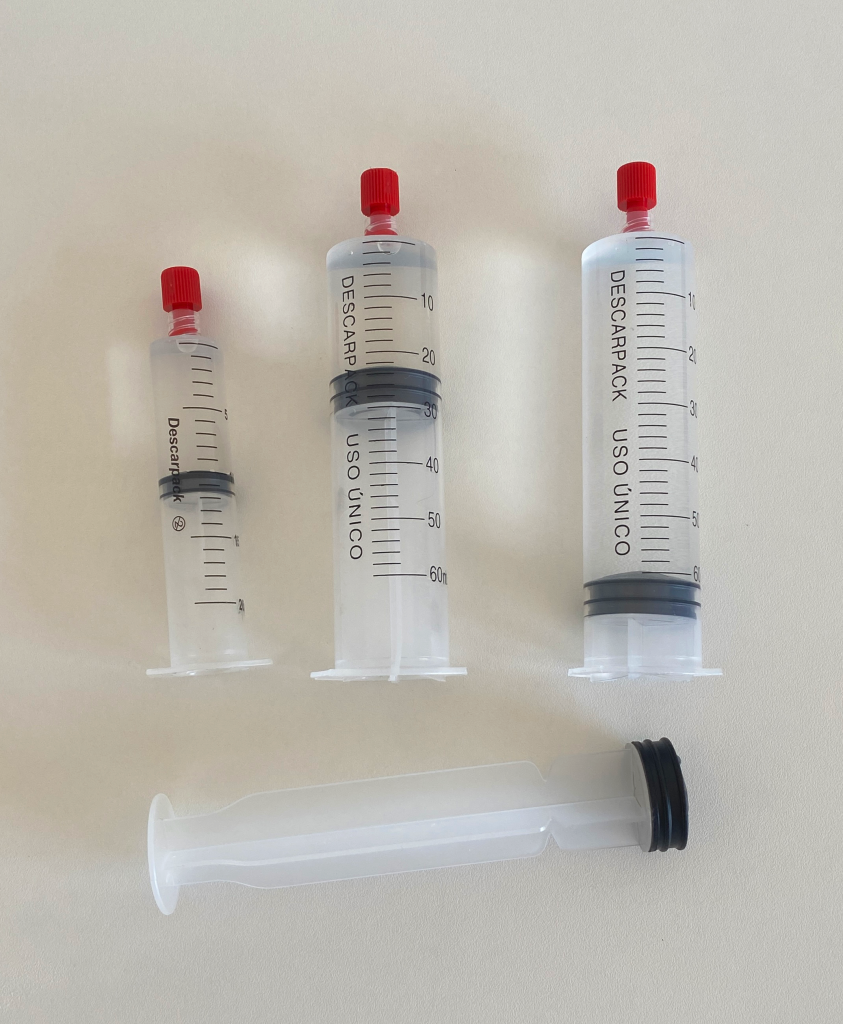
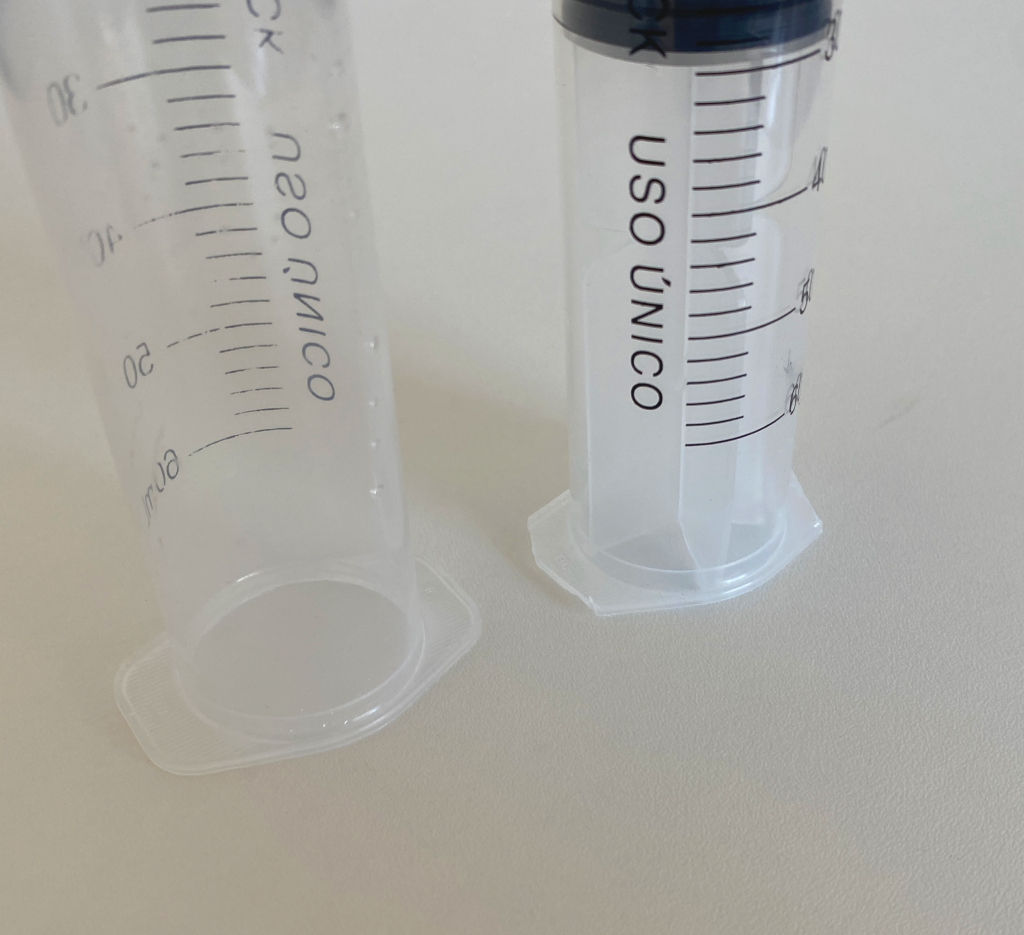
In order to make the DIY PRP system function as intended, the 60 mL syringes must be made to fit within the swinging buckets by lightly modifying them. Rest assured that these modifications do not compromise the functionality or sterility of the syringe. Two modifications are required:
- The syringe plunger must be cut off, leaving no material of the plunger extruding from the bottom of the barrel.
- The barrel flange must be cut down a couple millimeters to allow the syringe to slide down into the 50 mm bucket.
With these modifications completed on the 60 mL syringe, and assuming a full contents of 60 mL, the inner surface of the rubber stopper will have an Rmax (Radius max, measured from the center of the rotor) of 155 mm.
Rotor Head Fabrication
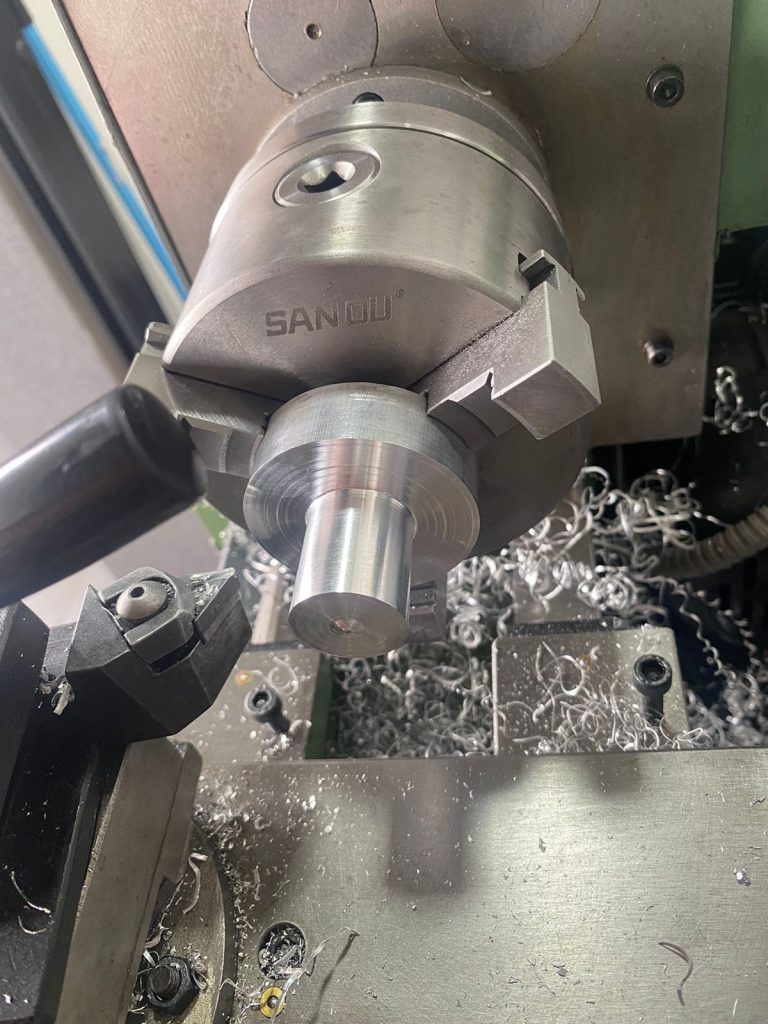
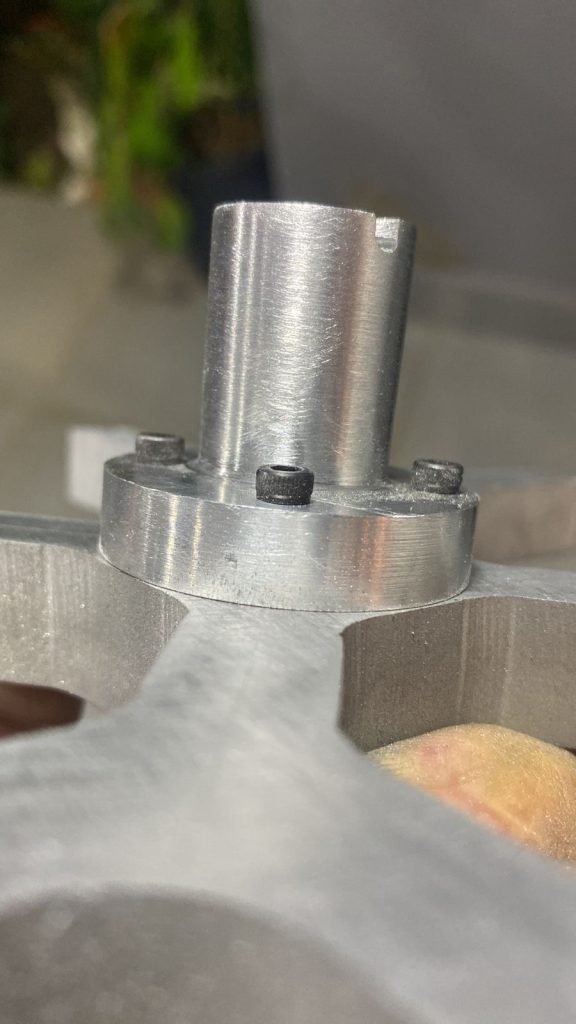
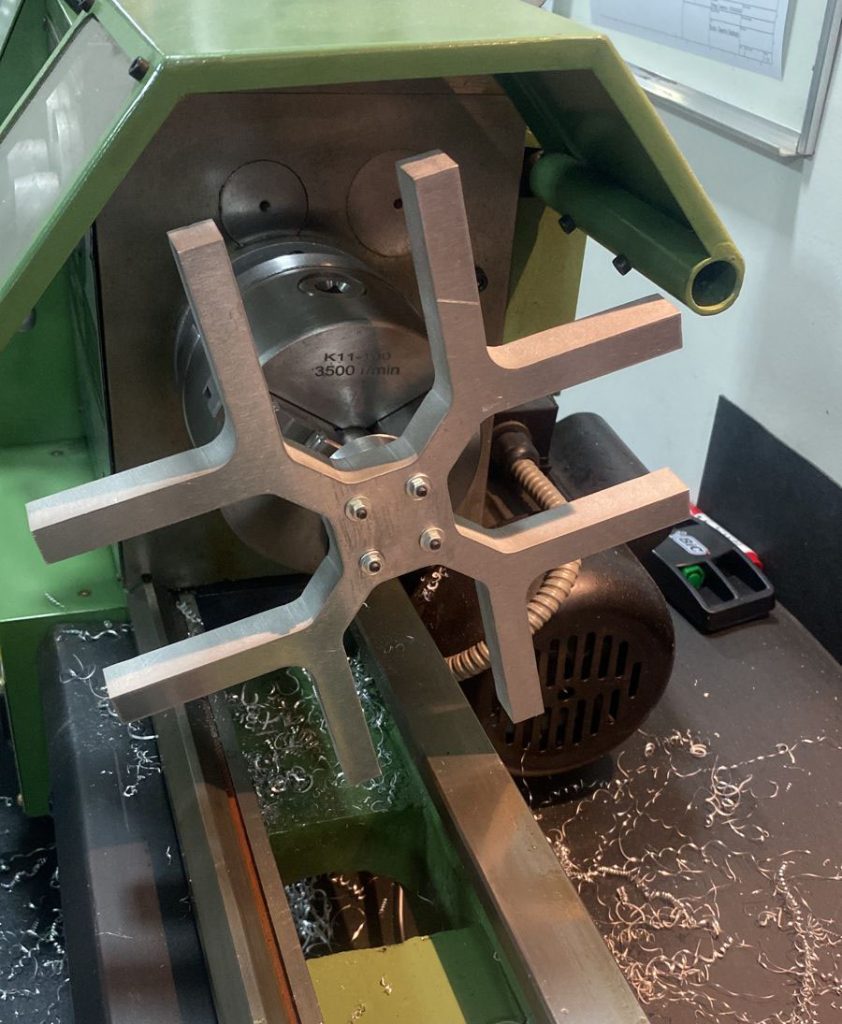
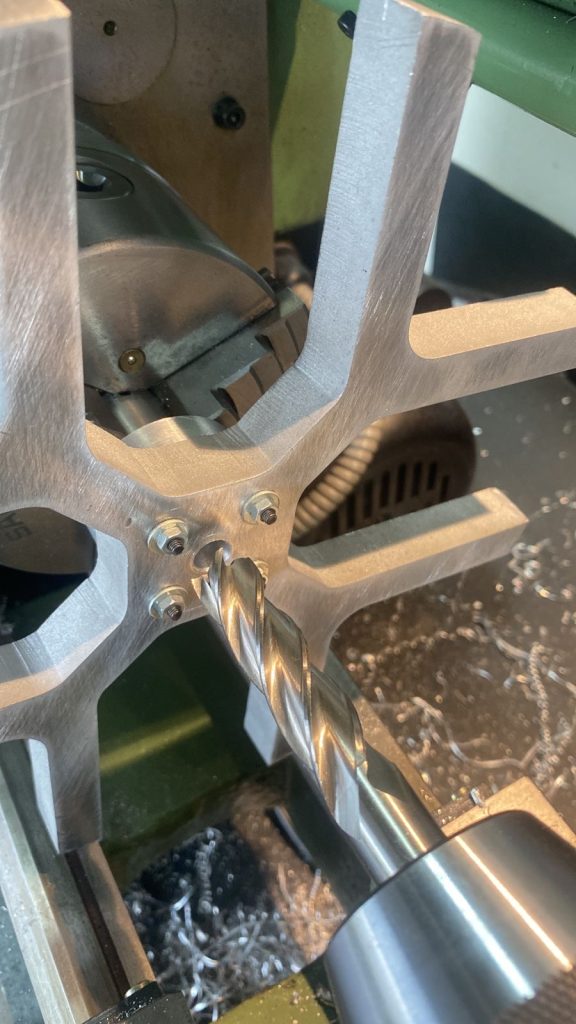
The rotor head was designed to be a variable angle rotor head, utilizing a swinging bucket design. The rotor was designed in TinkerCAD to be laser cut from a 16 mm block of billet aluminium. This piece of the project was outsourced due to the requirement of being laser cut from aluminium and being finished on a lathe. Diego from Usinagem Online, located in São Paulo, completed the rotor by hand. The center rotor axle was hand turned on a lathe and all screw holes and thread tapping was made by hand.
Centrifuge Housing Fabrication
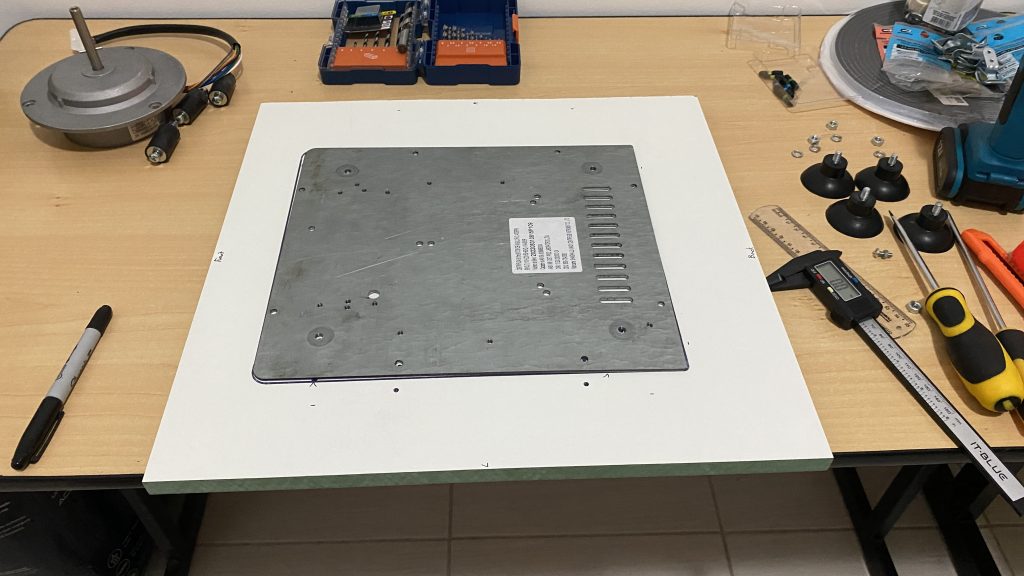
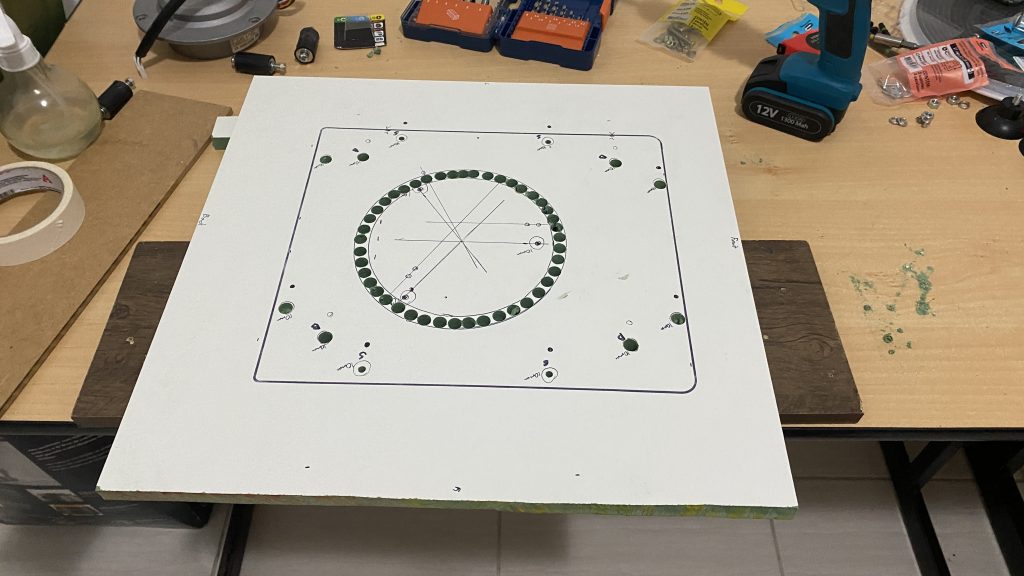
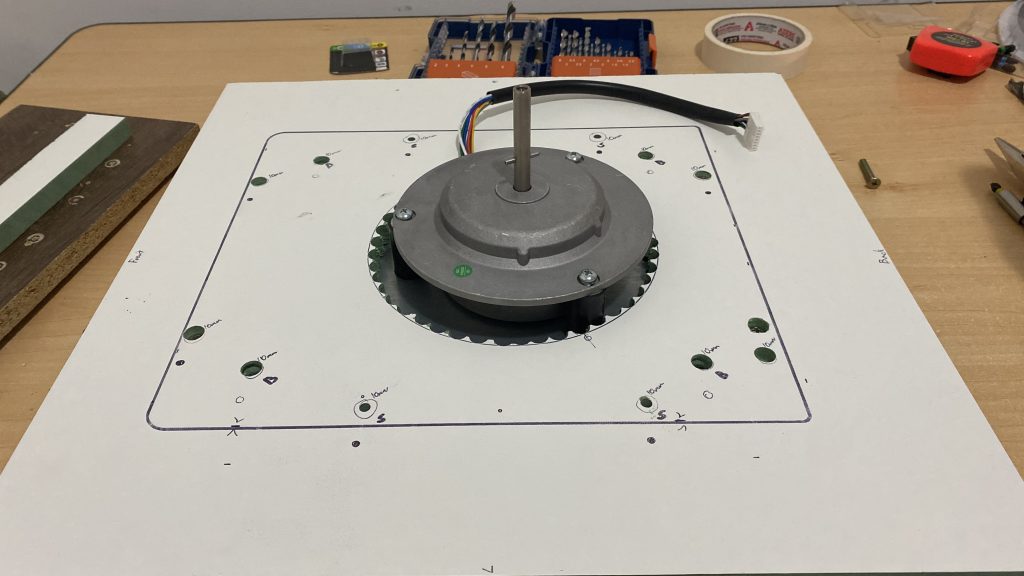
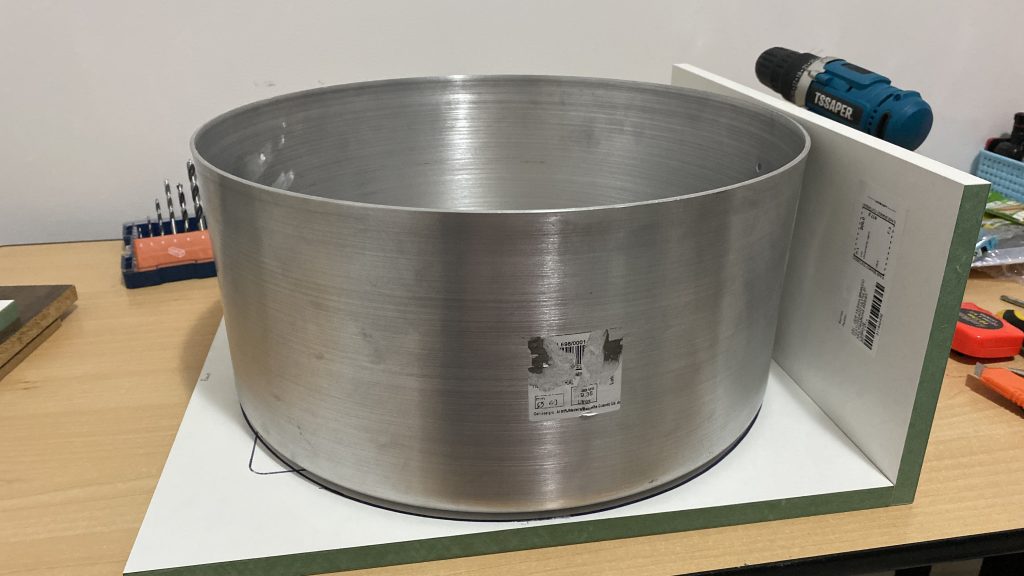
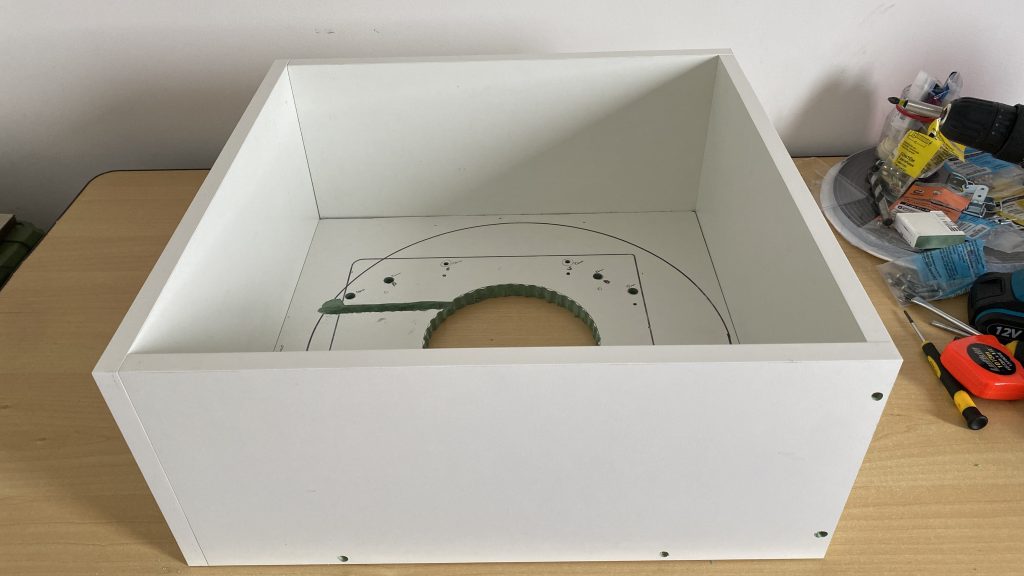
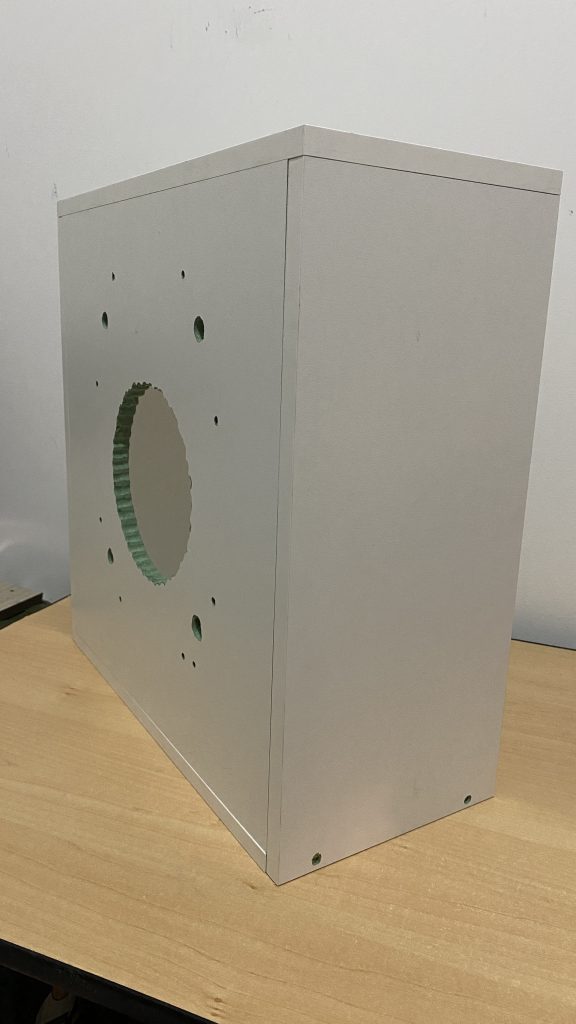
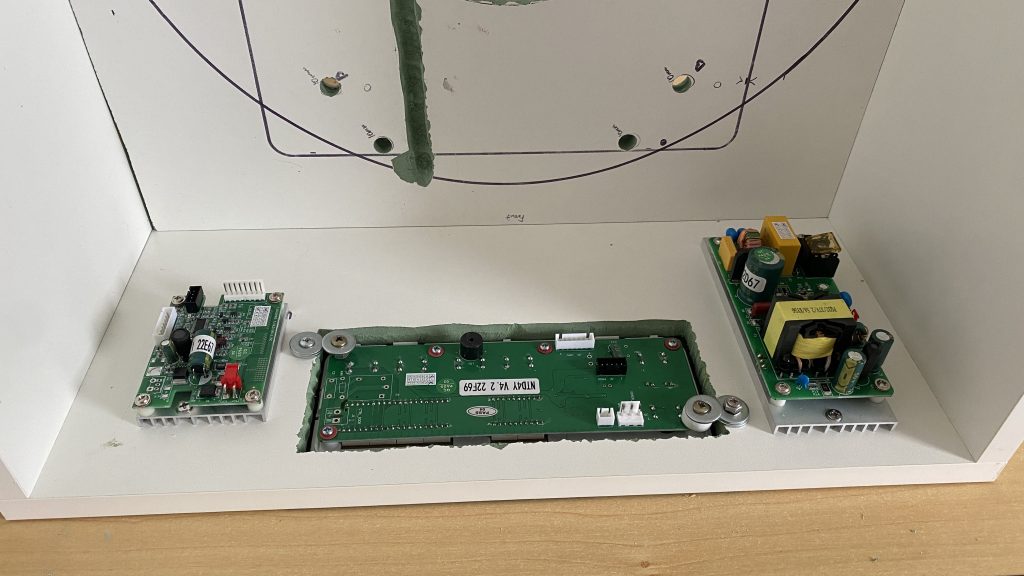
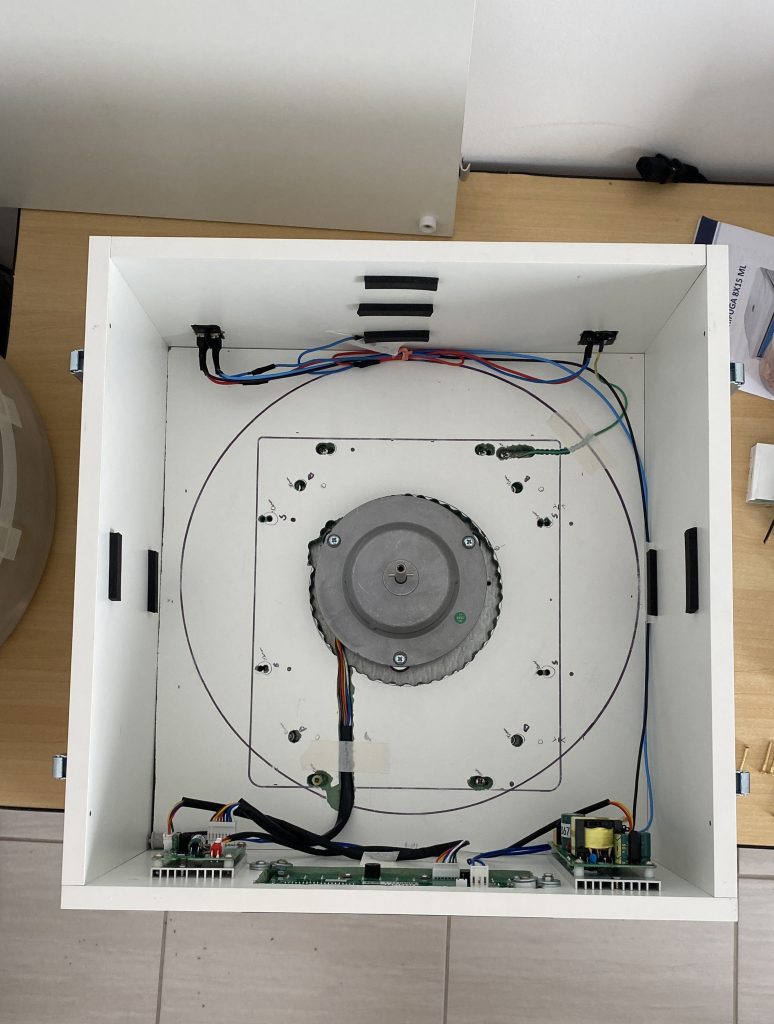
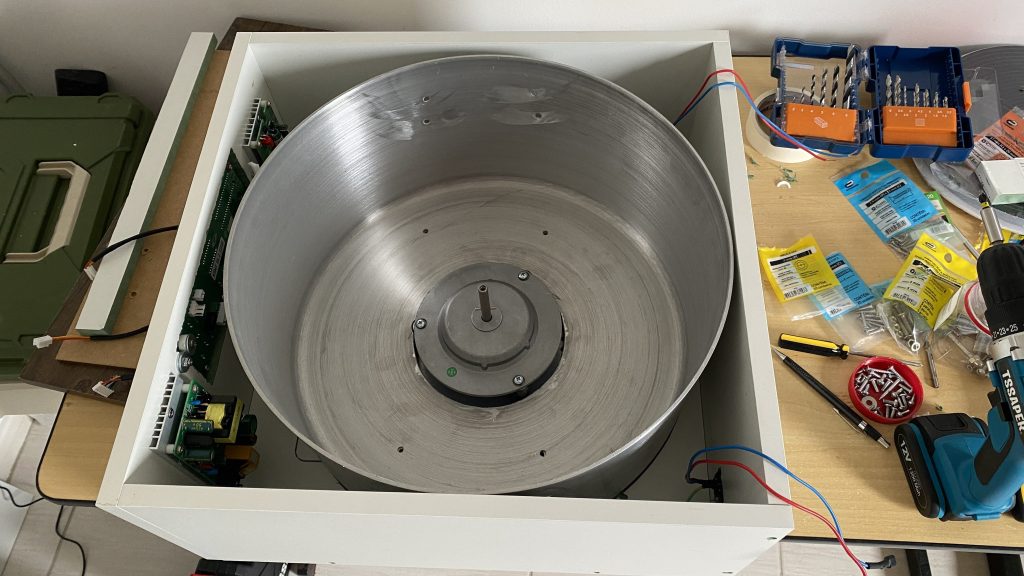
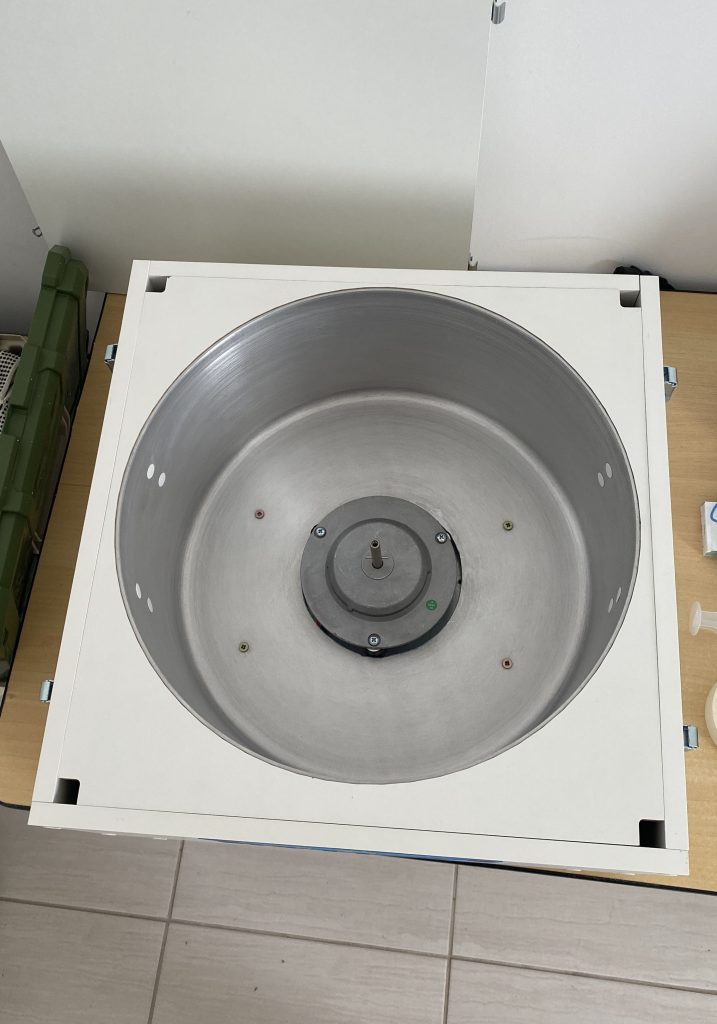
Pictured are the donor centrifuge’s base plate with motor and paired electronics, the 40 cm cooking pot, modified to fit over the donor motor and with handles removed, the laser cut MDF boards, and the assembly process.
While the construction of the centrifuge may appear ‘rough around the edges’, it should be noted that the assembly is done entirely with hand tools, requiring only a drill and bits. The assembled centrifuge has a professional-level finish.
While assembly was done solo at home, the MDF pieces were cut to the TinkerCAD design specifications by a local carpenter who specializes in MDF pieces.

Leave a Reply